Uploading Video Content Into Your Video LibraryUpdated 4 months ago
Purpose: This article walks you through uploading single or multiple videos to your LyveCom Library.
Intended Audience: Sellers, Content Managers, Ecommerce Managers
How to Upload Videos to Your Library
Step 1: Log Into Your Seller Account
Head to your LyveCom Dashboard and log in.
Step 2: Navigate to the Library
Use the left-hand menu to click on Library.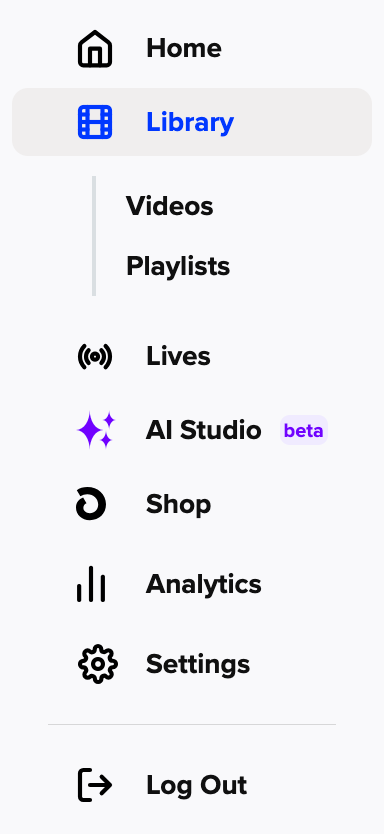 Once inside, click the Upload Video button at the top right corner.
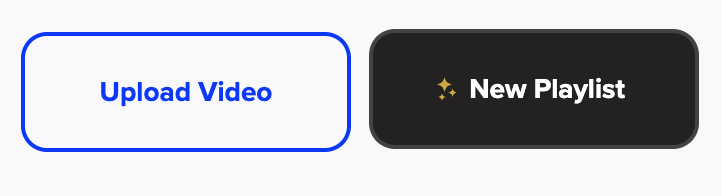
Step 3: Choose Upload Type
You’ll see two options in the dropdown:
Single Video
Bulk Upload
Select the option that fits your needs! 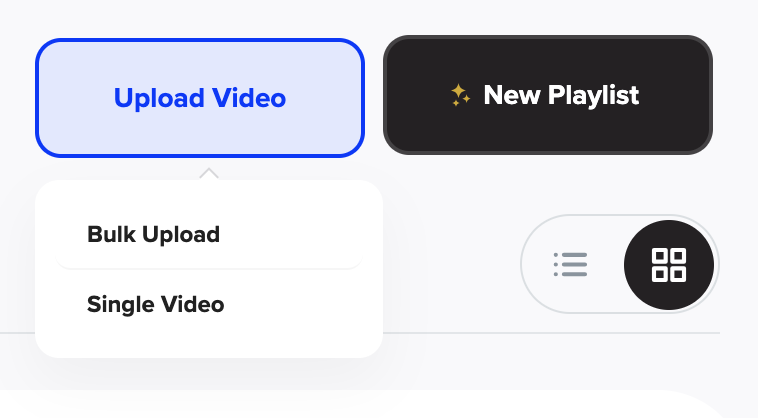
Option 1: Upload a Single Video
After selecting Single Video, you’ll see a simple upload form with the following fields:
Video Title (required)
Video Type (optional)
Assign to Playlist (optional)
Choose File (required)
💡 Quick Tip: You can skip the optional fields and jump straight to Choose File if you're in a hurry. 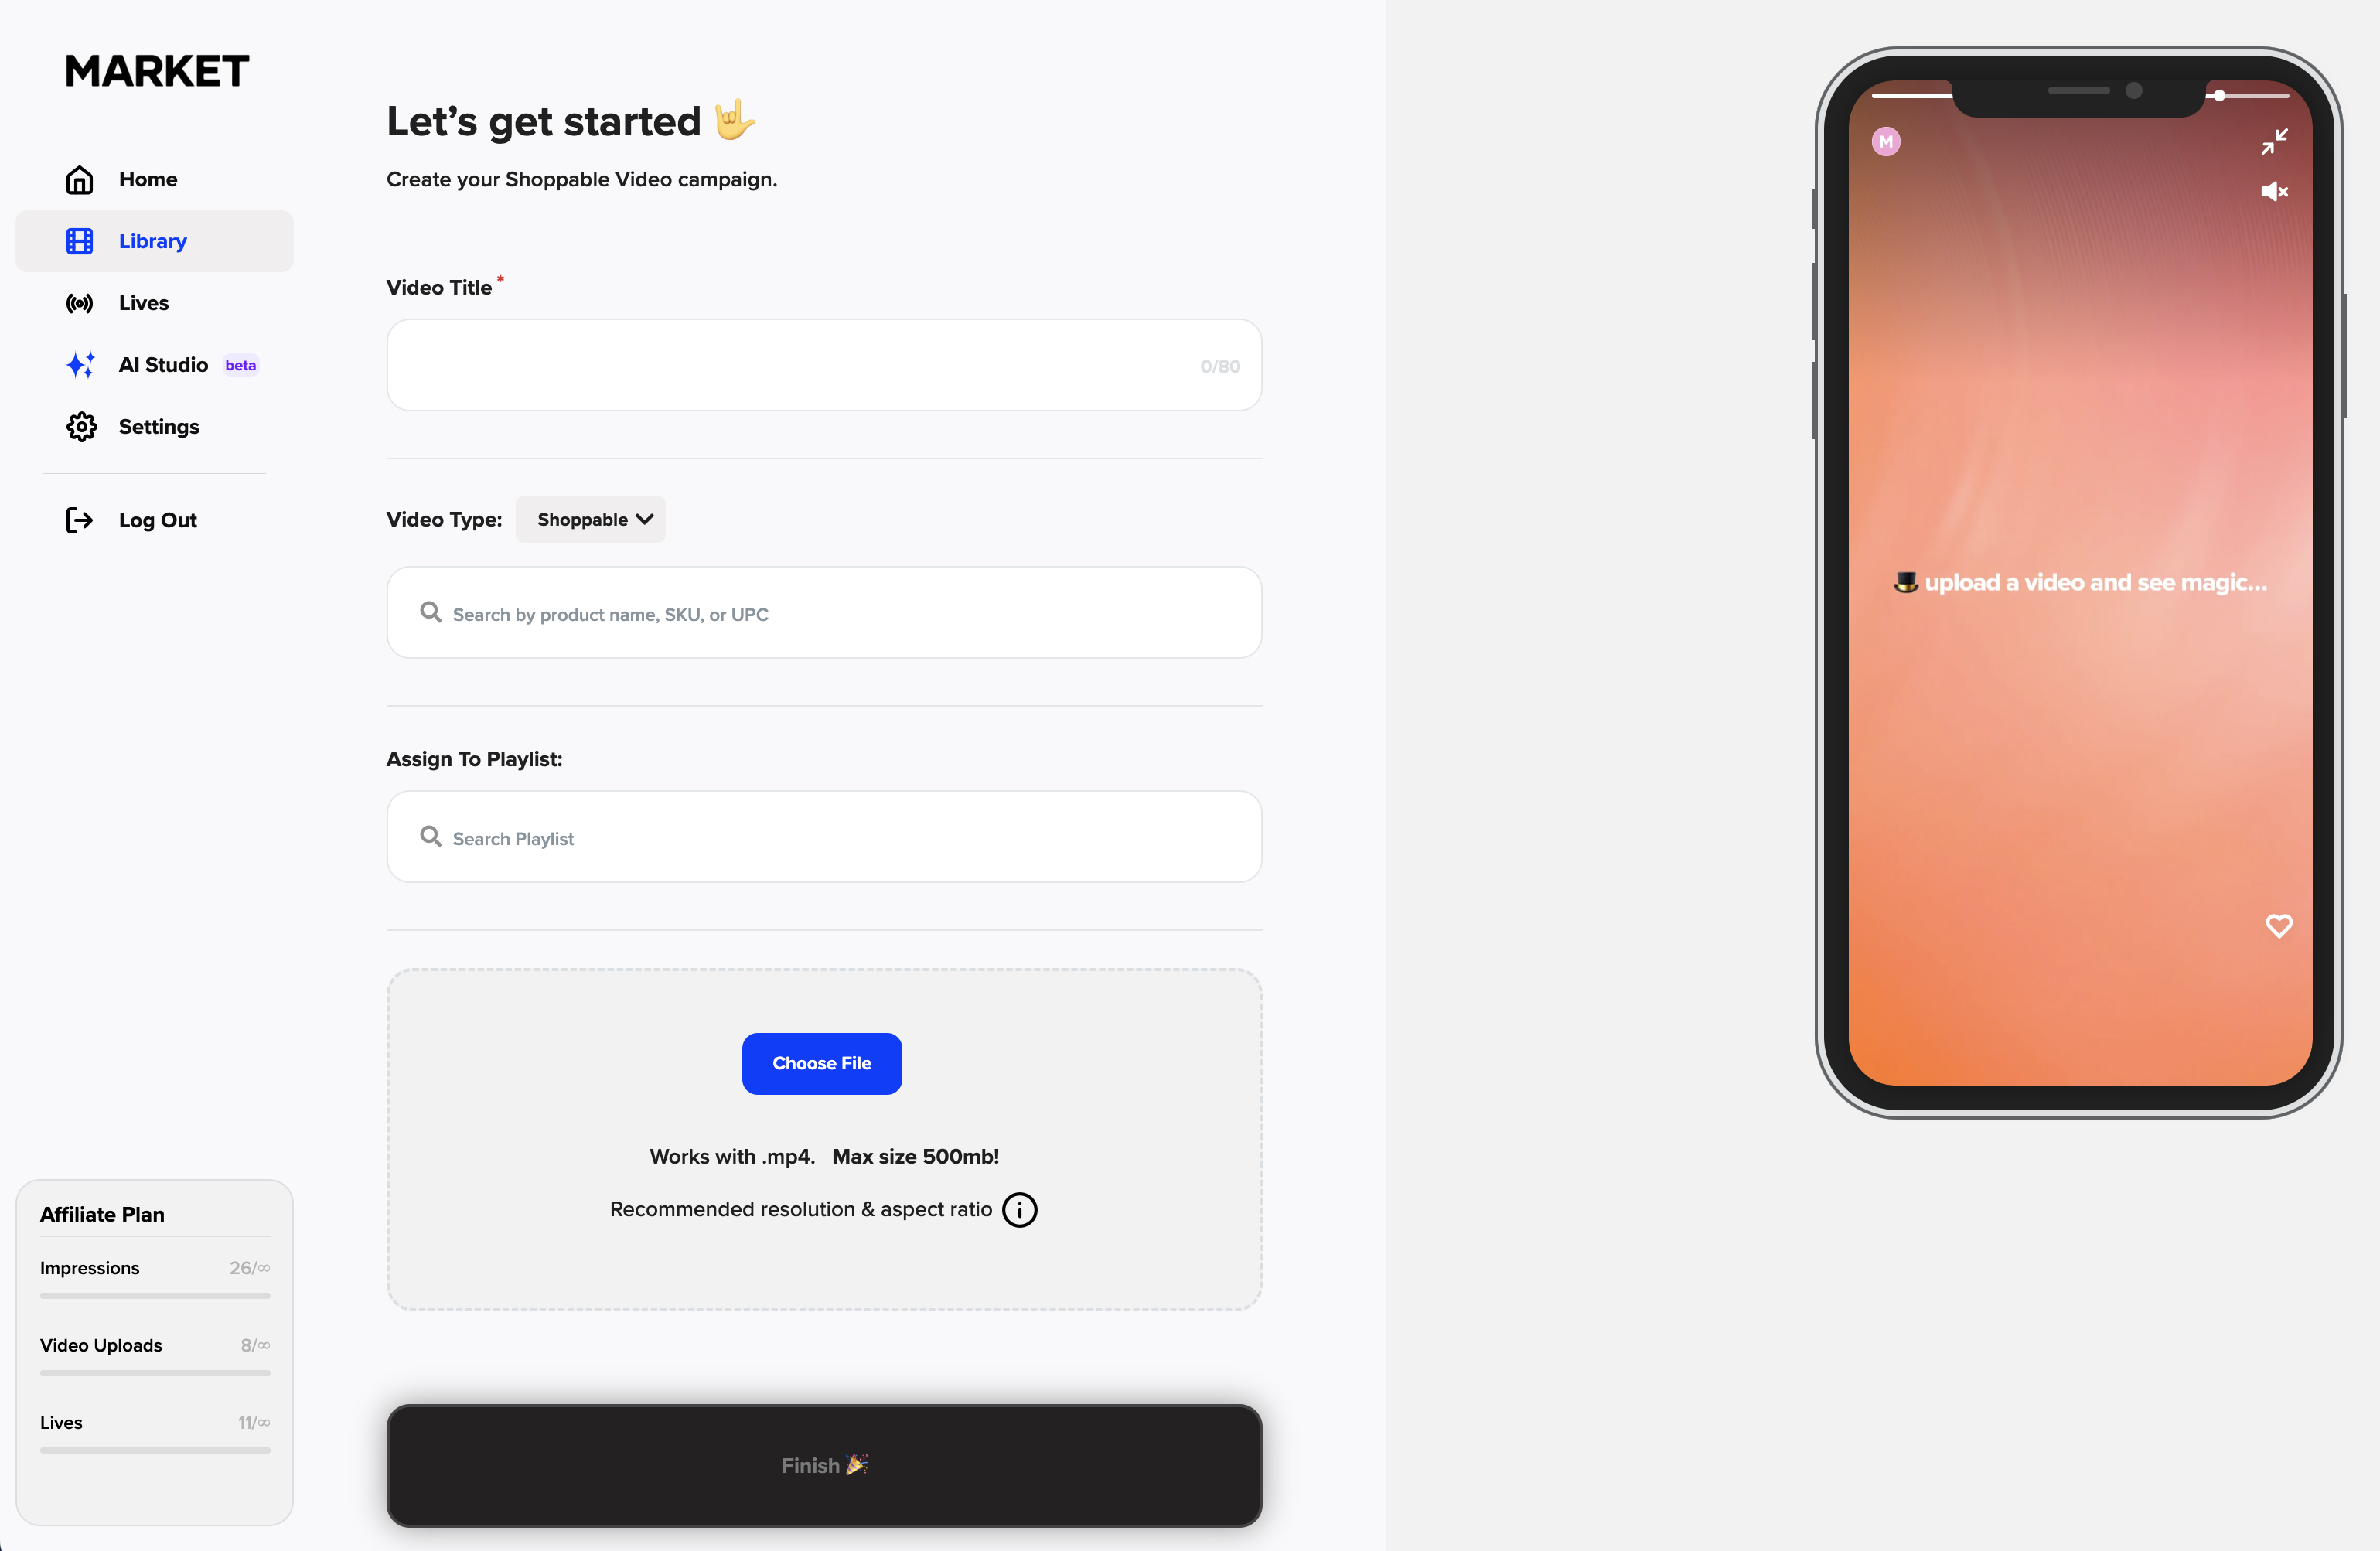
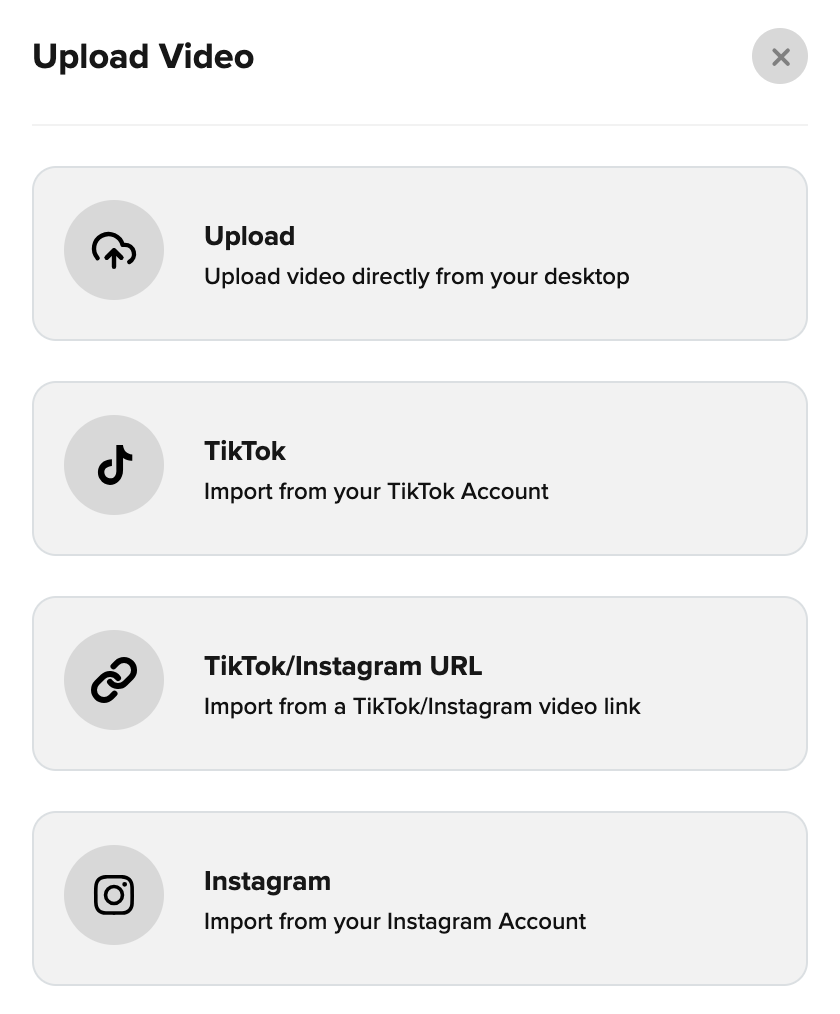
Upload Sources
Click Choose File to upload from one of these sources:
Your desktop
A TikTok account
A TikTok/Instagram URL
Your Instagram account
|| Need help uploading from TikTok or Instagram? Check out this guide.
Option 2: Bulk Upload Videos
When you choose Bulk Upload, simply drag and drop multiple files into the uploader.
Each video will upload using the file name as its title.
You can edit the title and metadata afterward by hovering over the video in your Library and selecting Edit.
Quick Tip: Bulk upload is perfect for batch content workflows. Titles and other fields can be edited later with ease. 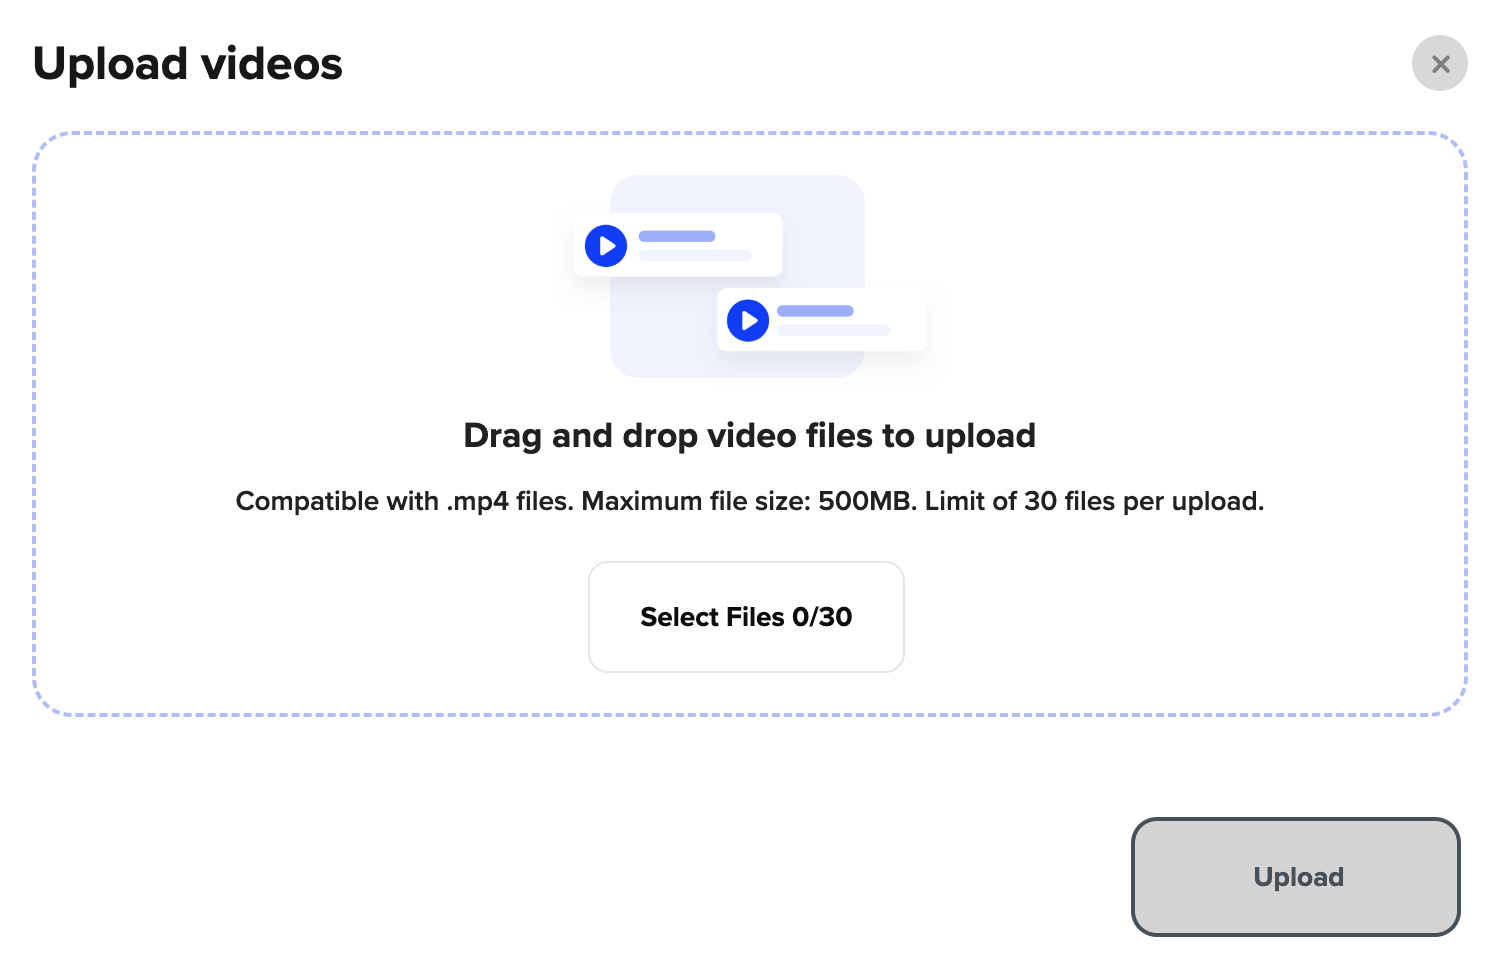
That’s it! Whether you’re uploading one video or a whole batch, your content will be ready for playlists, bubbles, grids, and more.
Next up: Keep your content easy to manage — learn how to organize your video library: Organize Your Video Library
Have more questions? Reach out to our support team - we’re happy to help!
Happy streaming! ✨