Testing Your Livestream Setup on ShopifyUpdated 4 months ago
Testing Your Livestream Setup on Shopify
Intended Audience: First-Time Users of LyveCom
Purpose: Get up and running with the LyveCom app and test your livestream setup inside Shopify.
A Quick Guide for First-Time Users of the LyveCom App
Step 1: Locate Your Test Page
After installing the LyveCom app, a new Shopify page will be automatically created.
You'll find it under Online Store → Pages → "Test Your Setup"
This page may appear blank at first.
Don’t worry—the LyveCom streaming widget is already embedded and will appear once you go live.
⚠️ Before you go any further:
Be sure to apply your widget branding in the LyveCom dashboard.
(Check our article here for help!)
Step 2: Open Your Test Event
In the LyveCom dashboard, open your scheduled test stream. This is where you’ll:
Add products
Choose your streaming method
Launch your test
Step 3: Sync Your Products
Make sure your Shopify product catalog is synced with LyveCom. Then:
Select your test event
Click “Add Product”
Choose a few products from your synced catalog
These products will appear in the widget when you go live—perfect for testing product interactivity and checkout.
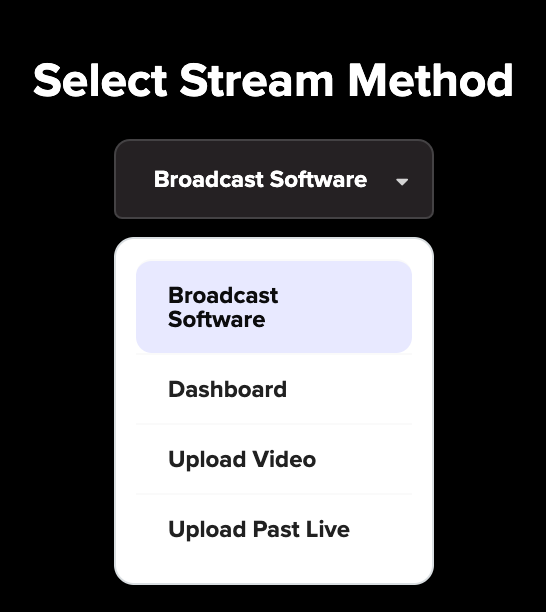
Step 4: Choose a Stream Method
Use the “How will you be streaming?” dropdown to choose one of four streaming options:
Larix Streaming App (📱Recommended for stability + mobile flexibility)
Built-in Mac Camera (🎥 Fast and simple)
OBS or RTMP stream key (🎛️ Advanced, for pros)
Upload a Pre-recorded Video (🎞️ For hands-off streaming)
Step 5: Go Live and Test
Once you go live in your test event:
Return to your “Test Your Setup” page on Shopify
Watch for your LyveCom widget to appear
Test the livestream video, product display, and checkout
Use this opportunity to double-check your setup, styling, and stream quality.
Have more questions? Reach out to our support team - we’re happy to help!
Happy streaming!