Scheduling a Live EventUpdated 4 months ago
Platform: LyveCom
Audience: Sellers, Hosts, Content Creators
Purpose: Teach users how to schedule a livestream in the LyveCom dashboard.
Scheduling a Live Event
 Step 1: Start a New Stream
Note: You'll need a Pro Plan or higher to use our live-streaming feature!
Log into your LyveCom dashboard
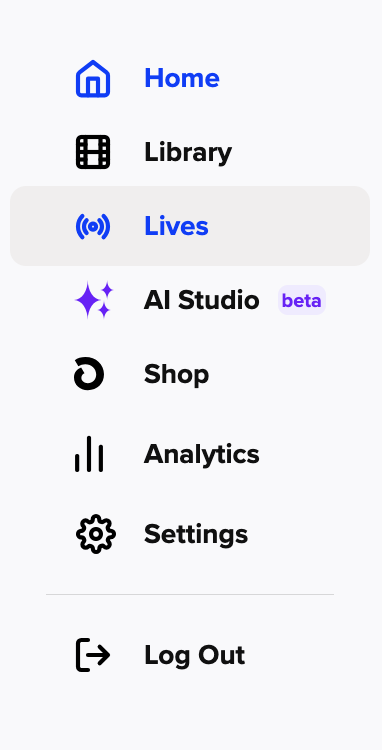
Click Lives in the left-hand menu
On the right-hand side, click New Stream

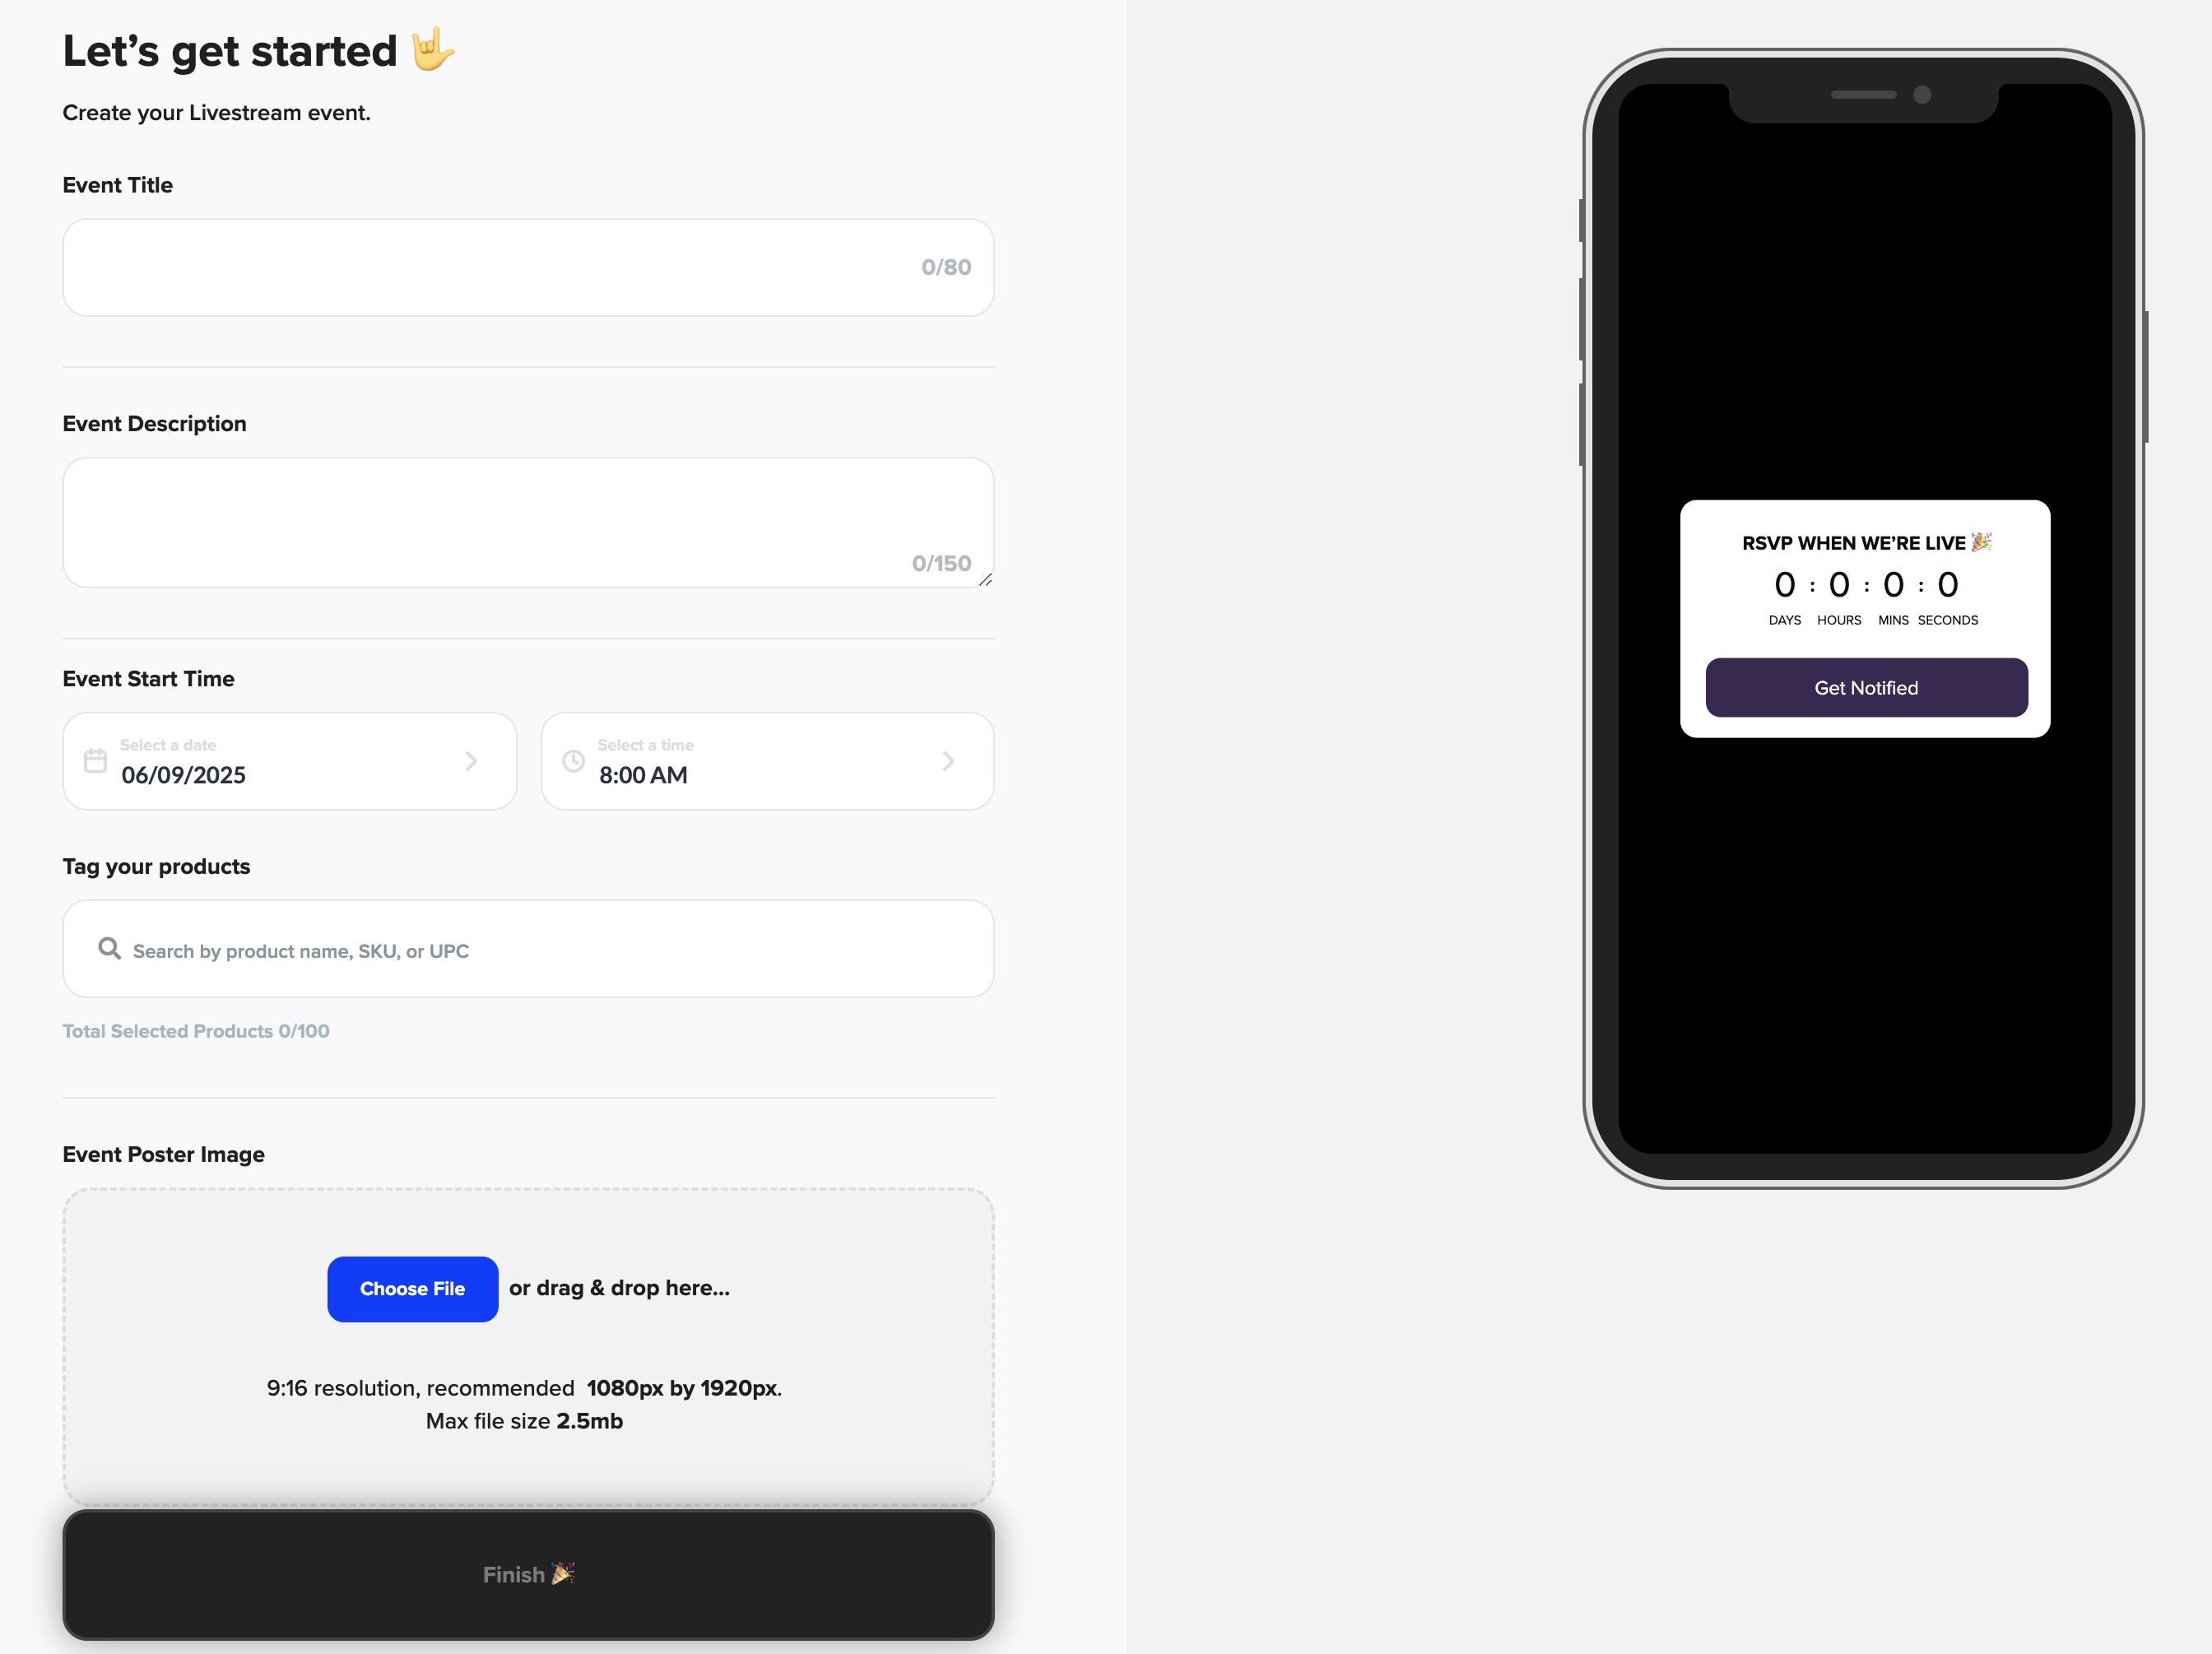
Step 2: Fill in the Event Details
You’ll be prompted to complete the following:
Event Title*
Event Description*
Event Start Time*
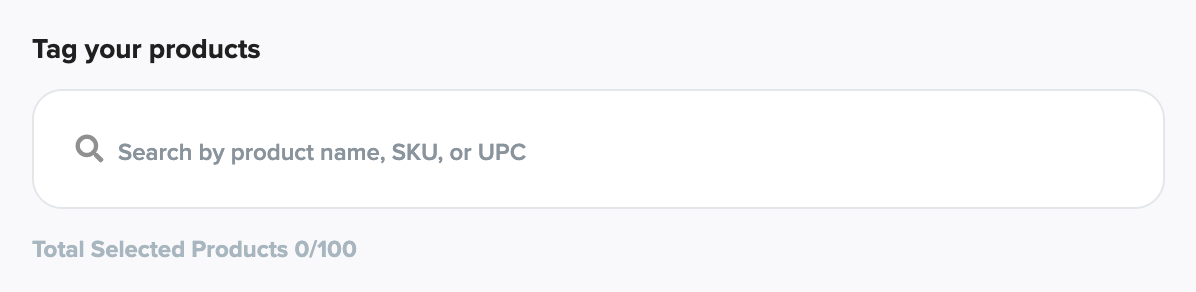
Tag Your Products
Event Poster Image*
* Required fields
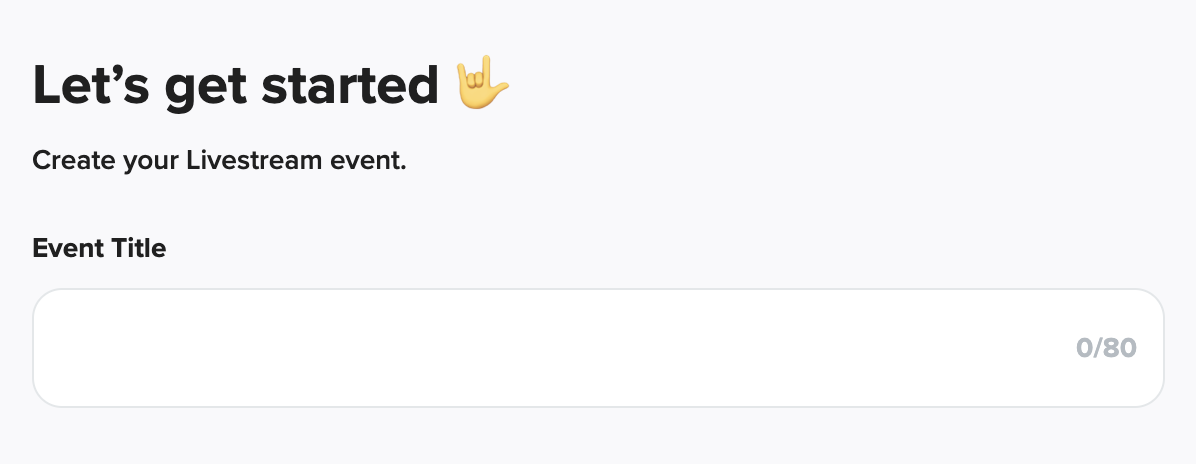
Event Title
You have up to 80 characters—make it clear and compelling!
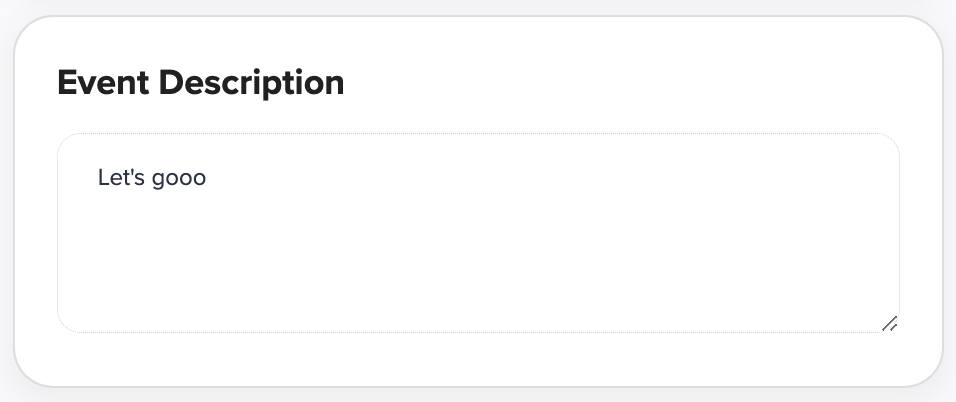
Event Description
You can write up to 150 characters.
This is what your audience will see under your stream. Keep it short, snappy, and on-brand!
💡 Tip: Use this space to spark curiosity and make it crystal clear why viewers should tune in.
Event Start Time
Choose your go-live time.
💡 The earlier you schedule, the more time you’ll have to promote it!
Tag Your Products
You can tag up to 100 products for a single livestream.
💡 Think ahead—include what you’ll demo, highlight, or mention during your stream.
Event Poster Image
Add a poster to visually promote your stream.
Click Choose File to upload from your device, or simply drag and drop
Recommended resolution: 1080px x 1920px (9:16 ratio)
Max file size: 2.5MB
💡 A great poster grabs attention—choose something eye-catching and brand-aligned!
✅ Final Step: Click “Finish”
Once all details are complete, hit Finish to officially schedule your livestream.
We recommend planning on livestreams of 45 minutes to an hour for best reach!
Have more questions? Reach out to our support team - we’re happy to help!
Happy selling! ✨