Editing VideosUpdated 4 months ago
Platform: MARKET.live / LyveCom
Audience: Sellers & Content Creators
Purpose: Teach users how to upload, organize, and customize videos in their library.
Managing and Editing Videos in Your Library
Accessing Your Video Library
- Log into your seller account on MARKET.live.
Use the left-hand menu to navigate to the Library.
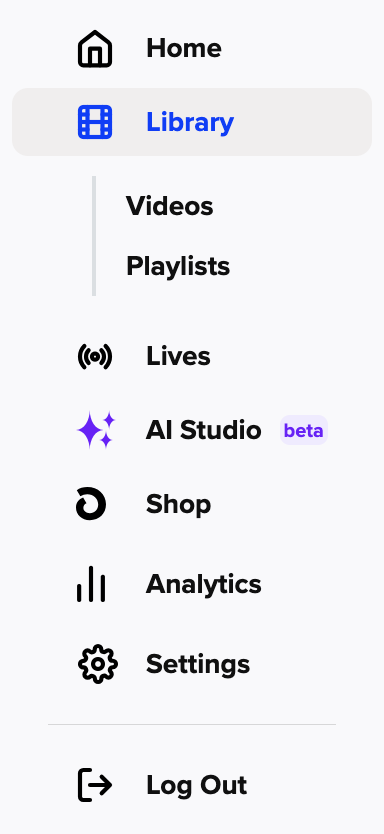
From here, you can upload, view, and edit your videos.
Editing a Video
In the Library, hover over the video you’d like to edit.
Click the pencil icon to open the video editing screen.
Video Details
You'll be prompted to fill out or update the following:
Video Title (required)
Video Type
Assign to Playlist

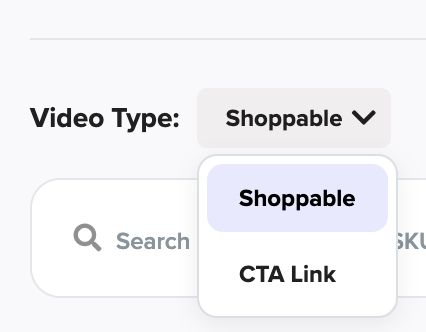
Video Type Options
1. Shoppable Video
A shoppable video lets your audience directly interact with products featured in the video.
Use the search bar to find and tag up to 3 products.
Click the checkbox next to each product to include it.
💡 To unselect a product, simply click the blue checkmark again.
2. CTA (Call-to-Action) Video
A CTA video lets you link viewers to an external page, like an email signup or promotional landing page.
Button Text: Add the CTA label (e.g., “Join Now” or “Enter Giveaway”).
Paste URL: Link to your desired destination.
💡 You’ll see a live preview of the button on the right-hand side. Use this to confirm the CTA’s design and placement. 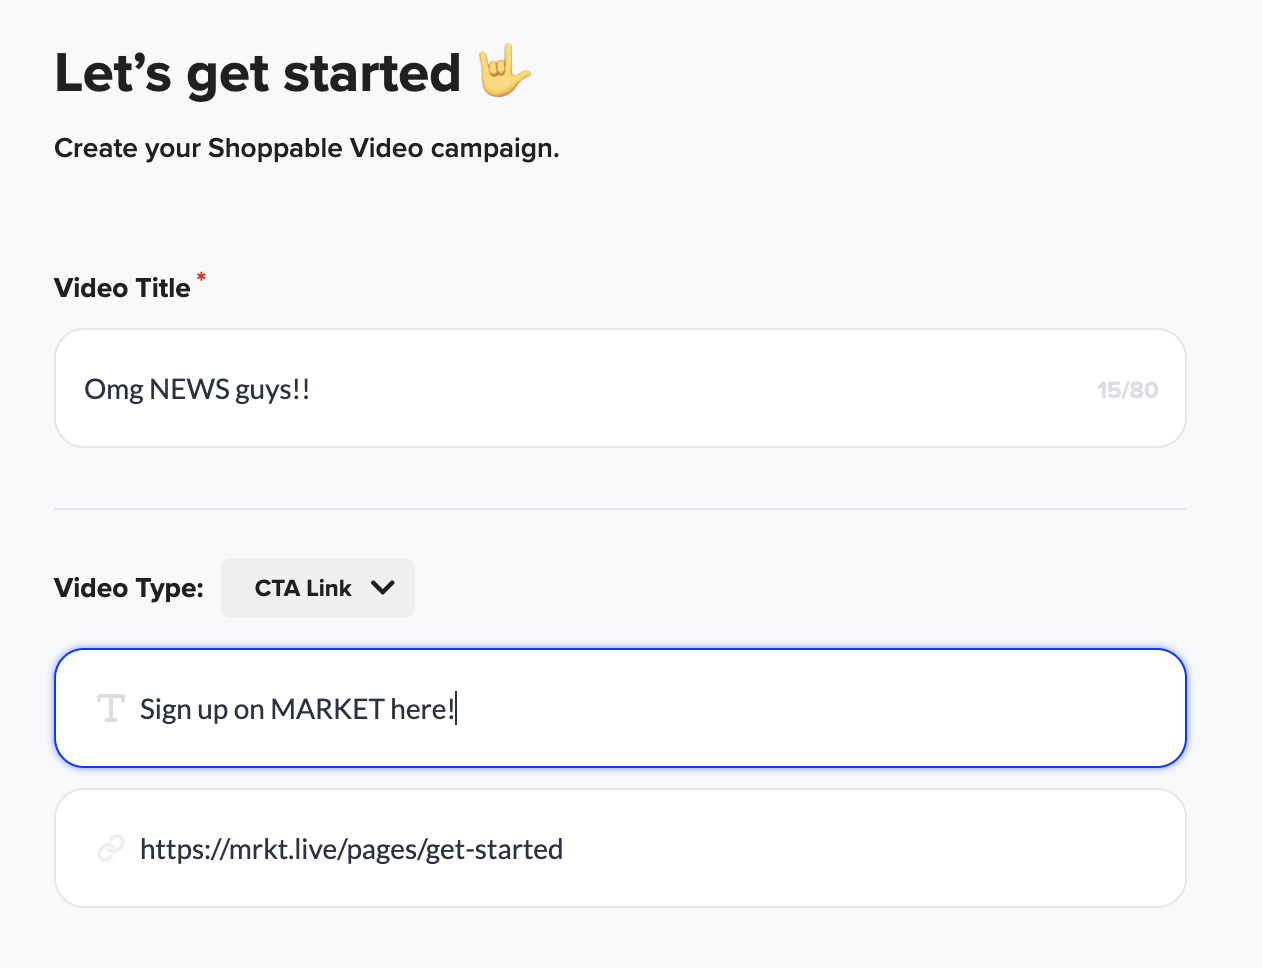
Assign to Playlist
To organize videos:
Begin typing the name of an existing playlist (Carousel, Bubble, Grid, etc.).
Click the checkbox to assign the video.
💡 Accidentally selected a playlist? Click the blue checkmark again to remove it.
Design Customization
This section allows you to fully customize the look and feel of your video widget:
Story Title Overlay
Toggle ON/OFF to show or hide the video’s title over the video.

Widget Size
Choose between Small or Medium.
Story Border
Toggle ON to enable a border.
Customize the following options:
Border Radius: Set the corner roundness (0–99).
Border Color: Select a color using a color picker or HEX code.
Border Size: Set the border thickness (0–99).
💡 Most sellers use a border size of 20 or less.
CTA Button Styling
- CTA Color: Choose the background color for the CTA button.
- CTA Font Color: Choose the text color for the CTA button.
Final Step
Always click “Save” after making edits.
You can return at any time to revise your video or design settings.
Have more questions? Reach out to our support team - we’re happy to help!
Happy selling! ✨