Creating a Page Template For Your Channel PageUpdated 4 months ago
Purpose: This guide walks you through creating a new Shopify page, embedding your LyveCom channel page, adding it to your store’s main navigation, and updating your social links.
Intended Audience: Ecommerce Managers, Marketing Managers
Embedding a Channel Page and Adding Social Links
Step 1: Create Your New Page in Shopify
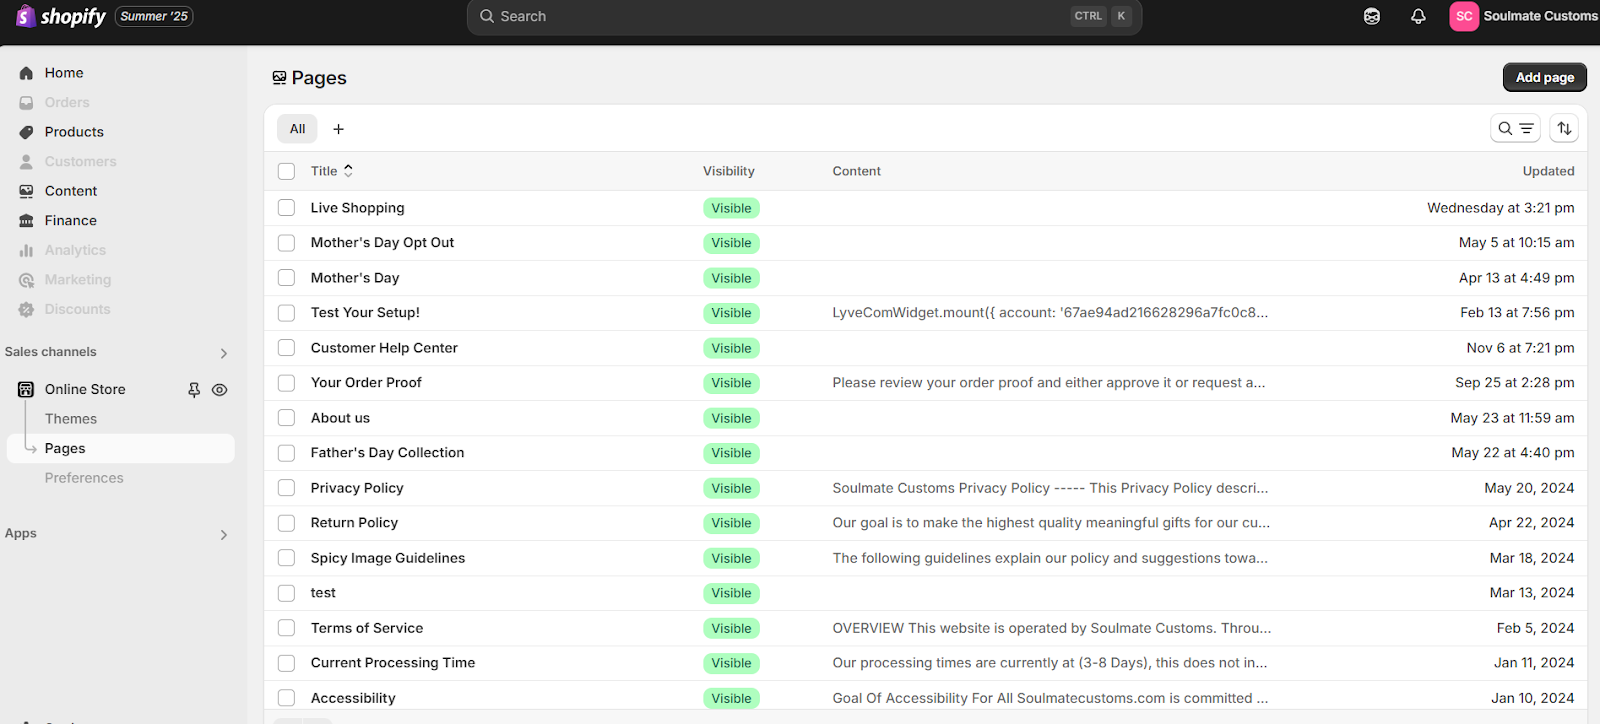
Log in to your Shopify admin
From the left-hand menu, go to Online Store → Pages
Click Add Page (top right)
Fill in your page details:
Title: e.g., “Live Selling” or “BrandName TV”
Content: Use the rich text editor to add copy, images, links, or embeds (like size charts from Canva or Google Docs)
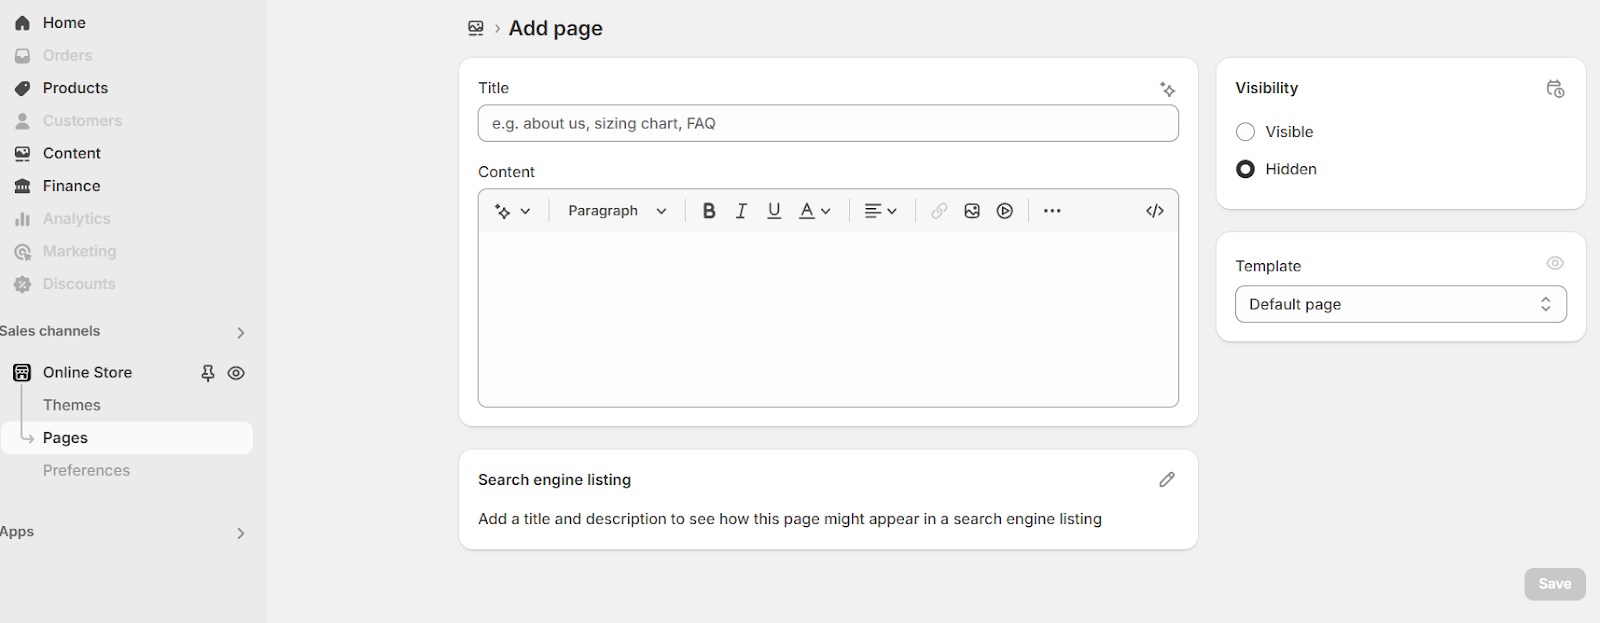
(Optional) Adjust settings on the right:
SEO: Click Edit under Search engine listing preview
Visibility: Set to Visible or schedule a publish date
Click Save
✅ Your page is now created!
Step 2: Embed the Channel Page Widget
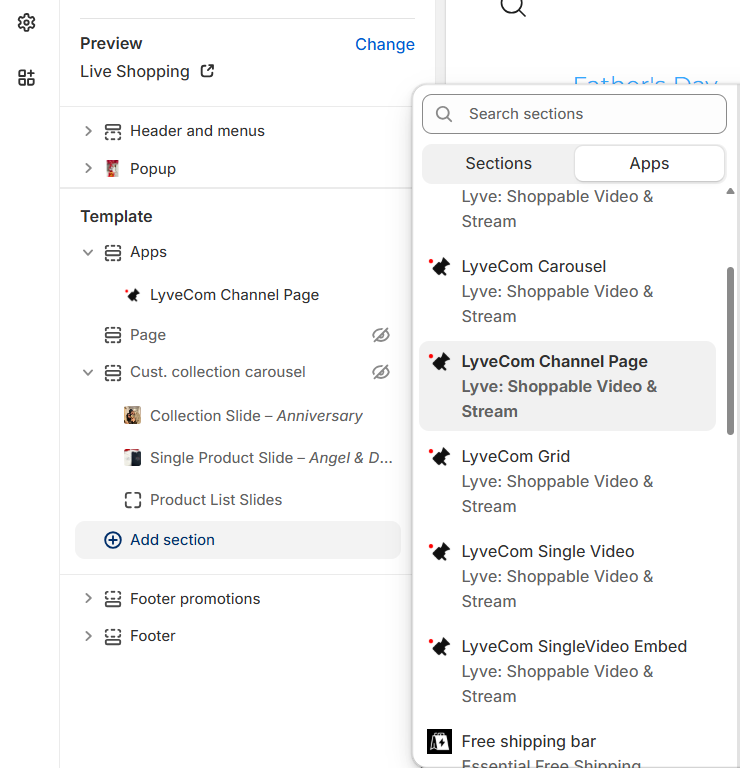
Open your Shopify Theme Editor
Click Add Section → Under Apps, select LyveCom Channel Page
In your LyveCom Dashboard, go to Settings → Streaming
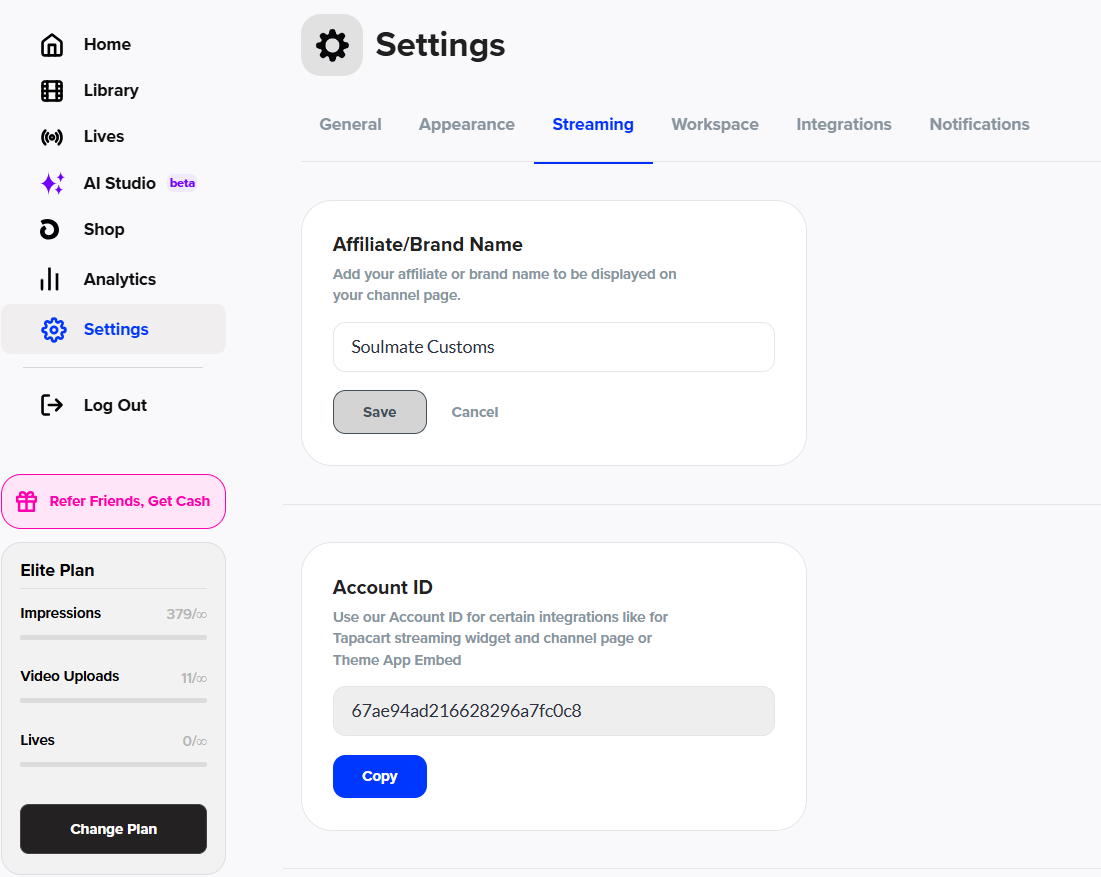
Copy your Account ID
Paste the Account ID into the appropriate section back in the Shopify Theme Editor
✅ Your Livestream channel page is now embedded!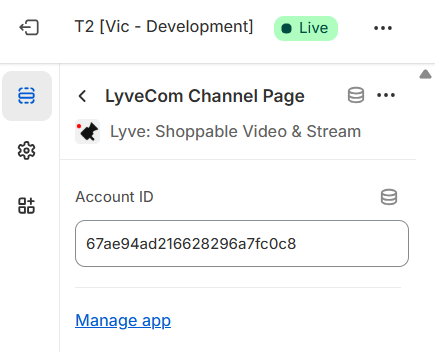
Step 3: Add the Page to Your Store Navigation
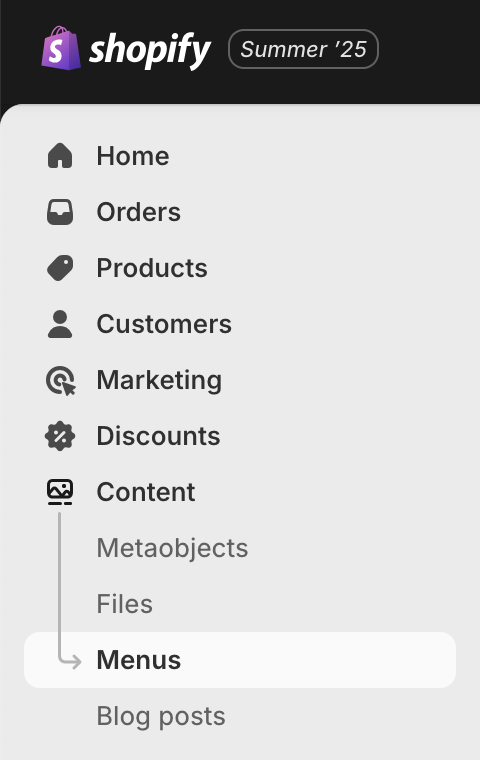
In Shopify admin, go to Content → Menus
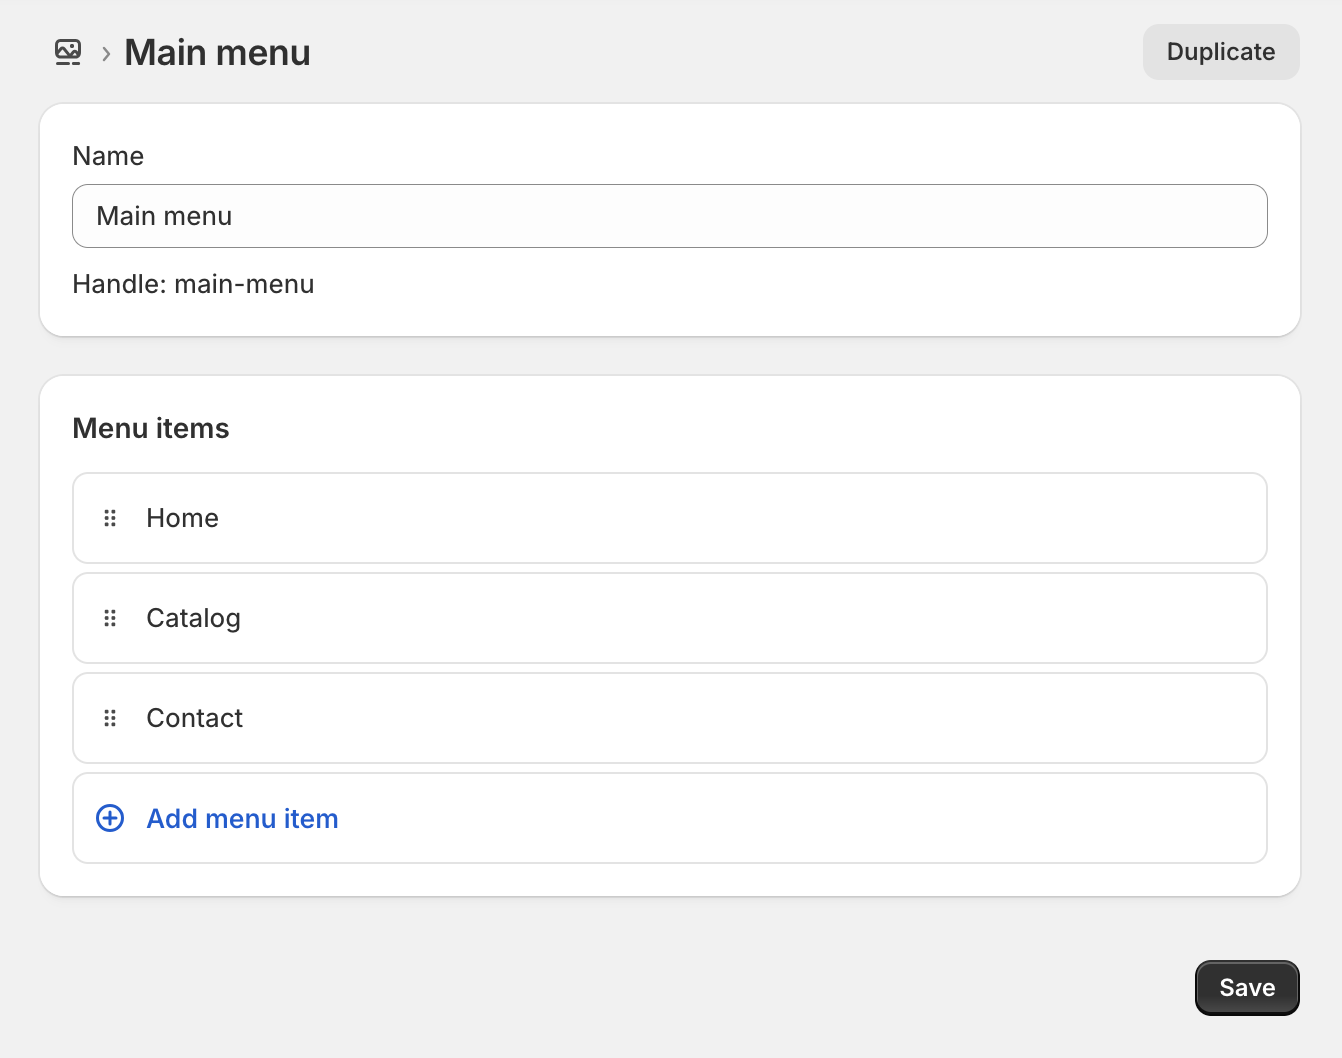
Click on Main Menu (or your preferred menu)

Click Add Menu Item
In the popup:
Name: What customers will see (e.g., “Live Selling”)
Link: Select Pages and choose the page you created
(Optional) Drag and drop to arrange the menu order
Click Save Menu
✅ Your new page is now visible in your store’s top navigation!
Step 4: Add Your Social Links
In your LyveCom Dashboard, go to Settings → Streaming
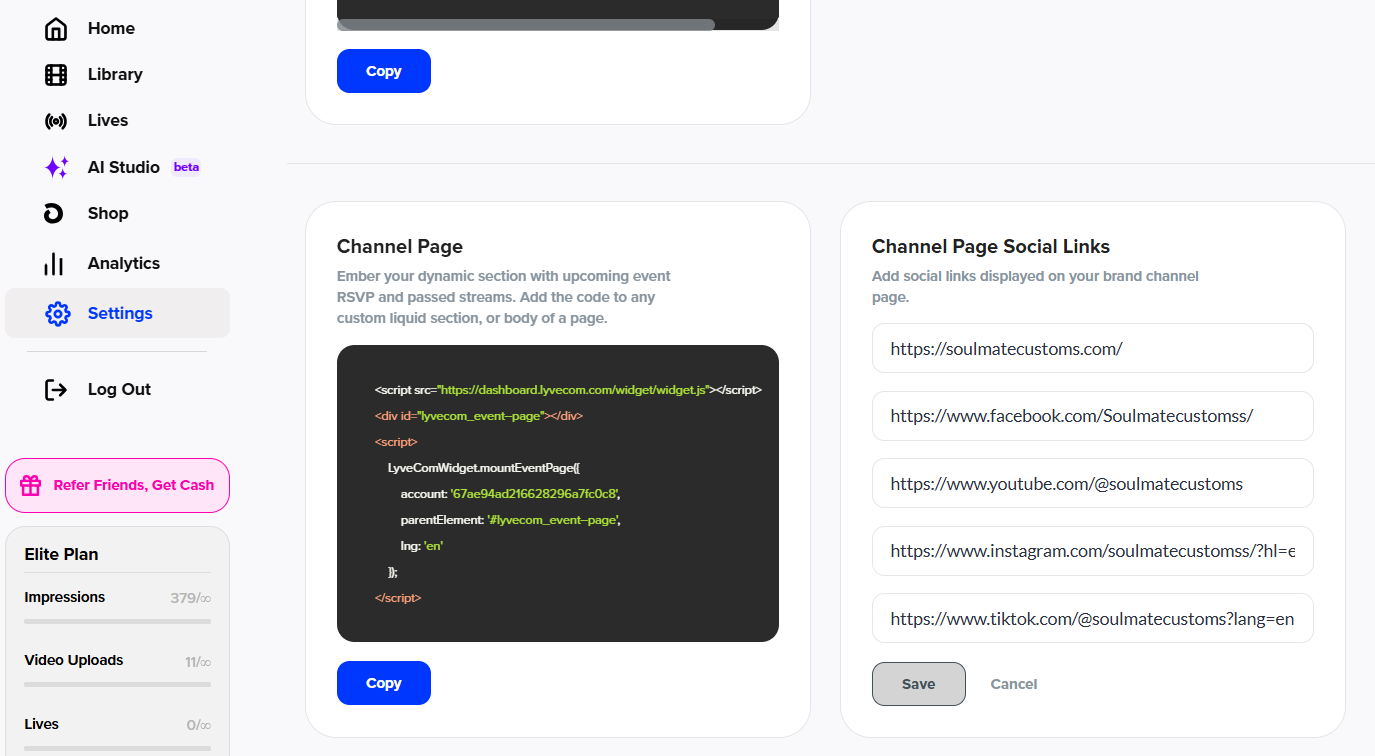
Scroll to the bottom
Add your links under Channel Page Social Links
You’ve successfully created and embedded your livestream page, added it to your main nav, and connected your socials!
Have more questions? Reach out to our support team - we’re happy to help!
Happy streaming!